The post Autumn Adventures: First Aid Skills for Fireworks and Bonfires appeared first on Online Health & Safety Training Courses | ProTrainings Europe.
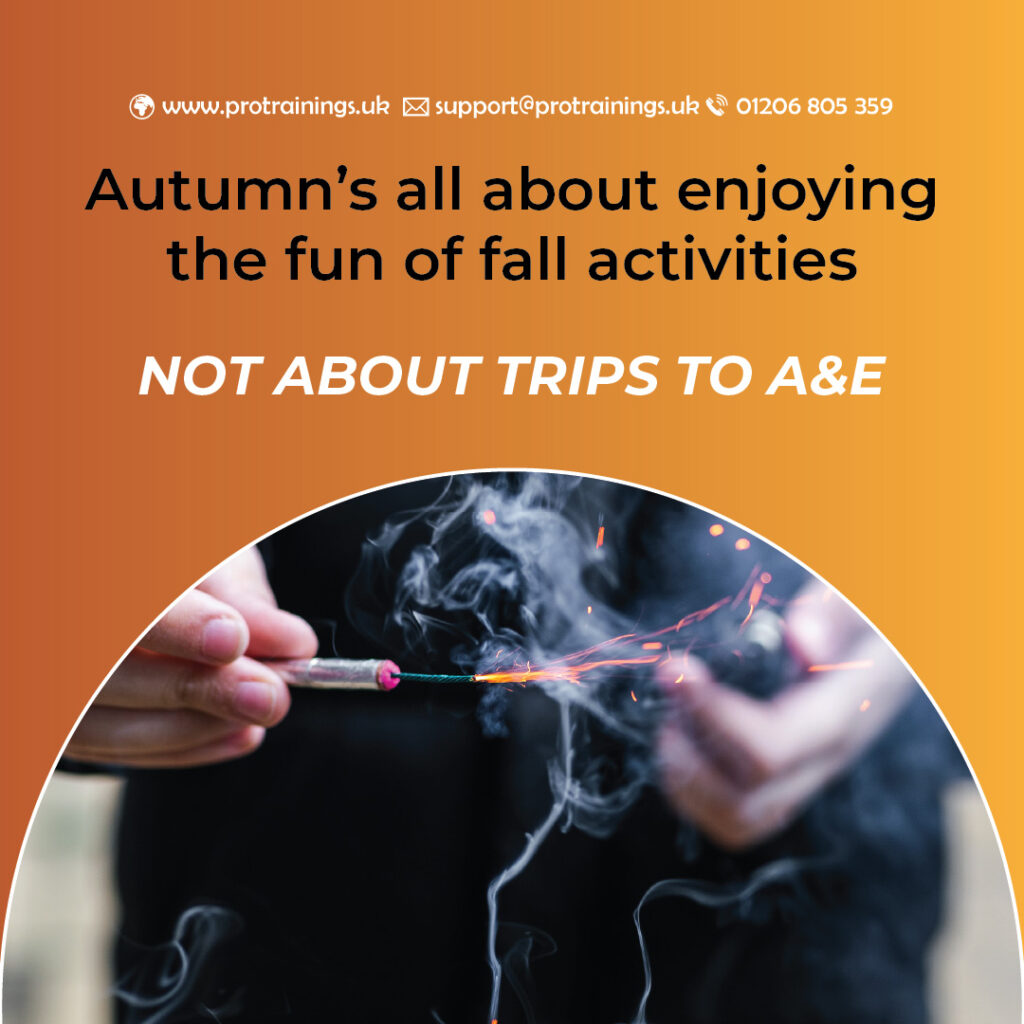
]]>Autumn in the UK is a magical time. The leaves turn golden, the evenings get cosy, and fireworks and bonfires light up the skies. But with Bonfire Night and Halloween celebrations just around the corner, it’s also a season where accidents can happen — especially with fireworks, bonfires, and candles in the mix.
Whether you’re heading to a fireworks display with friends or hosting a small gathering at home, knowing basic first aid can make all the difference. Minor burns, eye injuries, and trips or falls are more common than you might think, and being prepared could help prevent a small accident from becoming something more serious.
Common Firework Injuries
Firework-related accidents usually involve:
- Burns to the hands, arms, or face
- Eye injuries from sparks or debris
- Cuts from broken glass or misfired fireworks
- Minor trips or falls in the dark
Being able to act quickly and confidently is crucial. Immediate first aid can prevent infections, reduce the severity of burns, and even save sight in the case of eye injuries.
First Aid Skills Everyone Should Know
Here are a few essential tips for keeping yourself and your friends safe:
- Burns: Cool the burn under running cold water for at least 10 minutes. Avoid using creams or ointments on severe burns.
- Cuts and scrapes: Clean the wound with water and cover with a sterile dressing. If bleeding is heavy, apply gentle pressure and seek medical help.
- Eye injuries: Do not rub the eye. Rinse gently with clean water and seek medical attention if debris remains or pain persists.
- Trips and falls: Check for any sprains or fractures. Keep the injured person comfortable and immobilise limbs if necessary.
Why First Aid Training Matters
Having first aid training can make all the difference during firework season. ProTrainings offers First Aid at Work, Family First Aid, and Paediatric First Aid courses that teach practical skills you can use immediately. Even a short course will give you the confidence to handle common injuries safely.
Prepare Your First Aid Kit
Alongside training, having a well-stocked first aid kit is essential. Make sure your kit contains:
- Sterile dressings and plasters
- Burn dressings or gel
- Eye wash solution
- Scissors and tweezers
- Gloves and antiseptic wipes
Stay Safe and Enjoy the Season
Autumn’s all about enjoying the fun of fall activities — not about trips to A&E. By learning first aid and being prepared with the right equipment, you can enjoy firework season safely while looking out for your friends and family.
Ready to boost your skills this autumn? Check out ProTrainings First Aid courses here and make sure you’re prepared for Bonfire Night and beyond.
The post Autumn Adventures: First Aid Skills for Fireworks and Bonfires appeared first on Online Health & Safety Training Courses | ProTrainings Europe.
]]>The post Basic Life Support (BLS): A Guide to Saving Lives appeared first on Online Health & Safety Training Courses | ProTrainings Europe.
]]>Basic Life Support (BLS) refers to the techniques used to keep someone alive in an emergency until professional medical help arrives. This includes providing Cardiopulmonary Resuscitation (CPR), rescue breaths, and chest compressions for individuals who are unresponsive and not breathing normally.
When to Provide BLS
BLS is crucial in situations where a person is unresponsive, unconscious, or not breathing. These emergencies could include heart attacks, drowning, drug overdoses, or sudden cardiac arrest.
The first thing to do when you encounter someone in need of BLS is to check for danger to ensure the scene is safe for both you and the casualty. If it’s safe to do so, approach and follow these steps.
The DRS ABC Protocol
Before performing CPR, it is important to follow the DRS ABC steps:
- D – Danger: Check for any danger to yourself, the casualty, or others nearby.
- R – Response: Check if the casualty responds by gently shaking their shoulders and asking loudly, “Are you okay?”
- A – Airway: Open the casualty’s airway by tilting their head back and lifting their chin.
- B – Breathing: Look, listen, and feel for normal breathing for no longer than 10 seconds. begin CPR immediately
How to Perform CPR
If the casualty is not breathing normally, you need to begin CPR straight away. CPR consists of chest compressions and rescue breaths:
Chest Compressions
- Place the heel of one hand in the centre of the casualty’s chest. Place your other hand on top and interlock your fingers.
- Press down hard and fast at a rate of 100 to 120 compressions per minute (about 2 compressions per second). Push to a depth of 5-6cm.
- Allow the chest to rise fully between compressions.
Rescue Breaths
- After 30 compressions, give 2 rescue breaths. (if safe to do so)
- Pinch the casualty’s nose, tilt their head back, and breathe into their mouth, ensuring their chest rises.
- Repeat the cycle of 30 compressions followed by 2 rescue breaths.
Note: If you’re unable or unwilling to give rescue breaths, providing hands-only CPR (continuous chest compressions) is still highly effective.
Using an Automated External Defibrillator (AED)
If available, use an AED as soon as possible. AEDs are designed to be easy to use, with voice instructions guiding you through the process. Attach the pads to the casualty’s chest as directed and follow the AED prompts.
Important: Never stop CPR until one of the following occurs:
- The casualty starts breathing normally.
- You are too exhausted to continue.
- A trained professional arrives and takes over.
- You are instructed to stop by emergency services.
Why BLS is Important
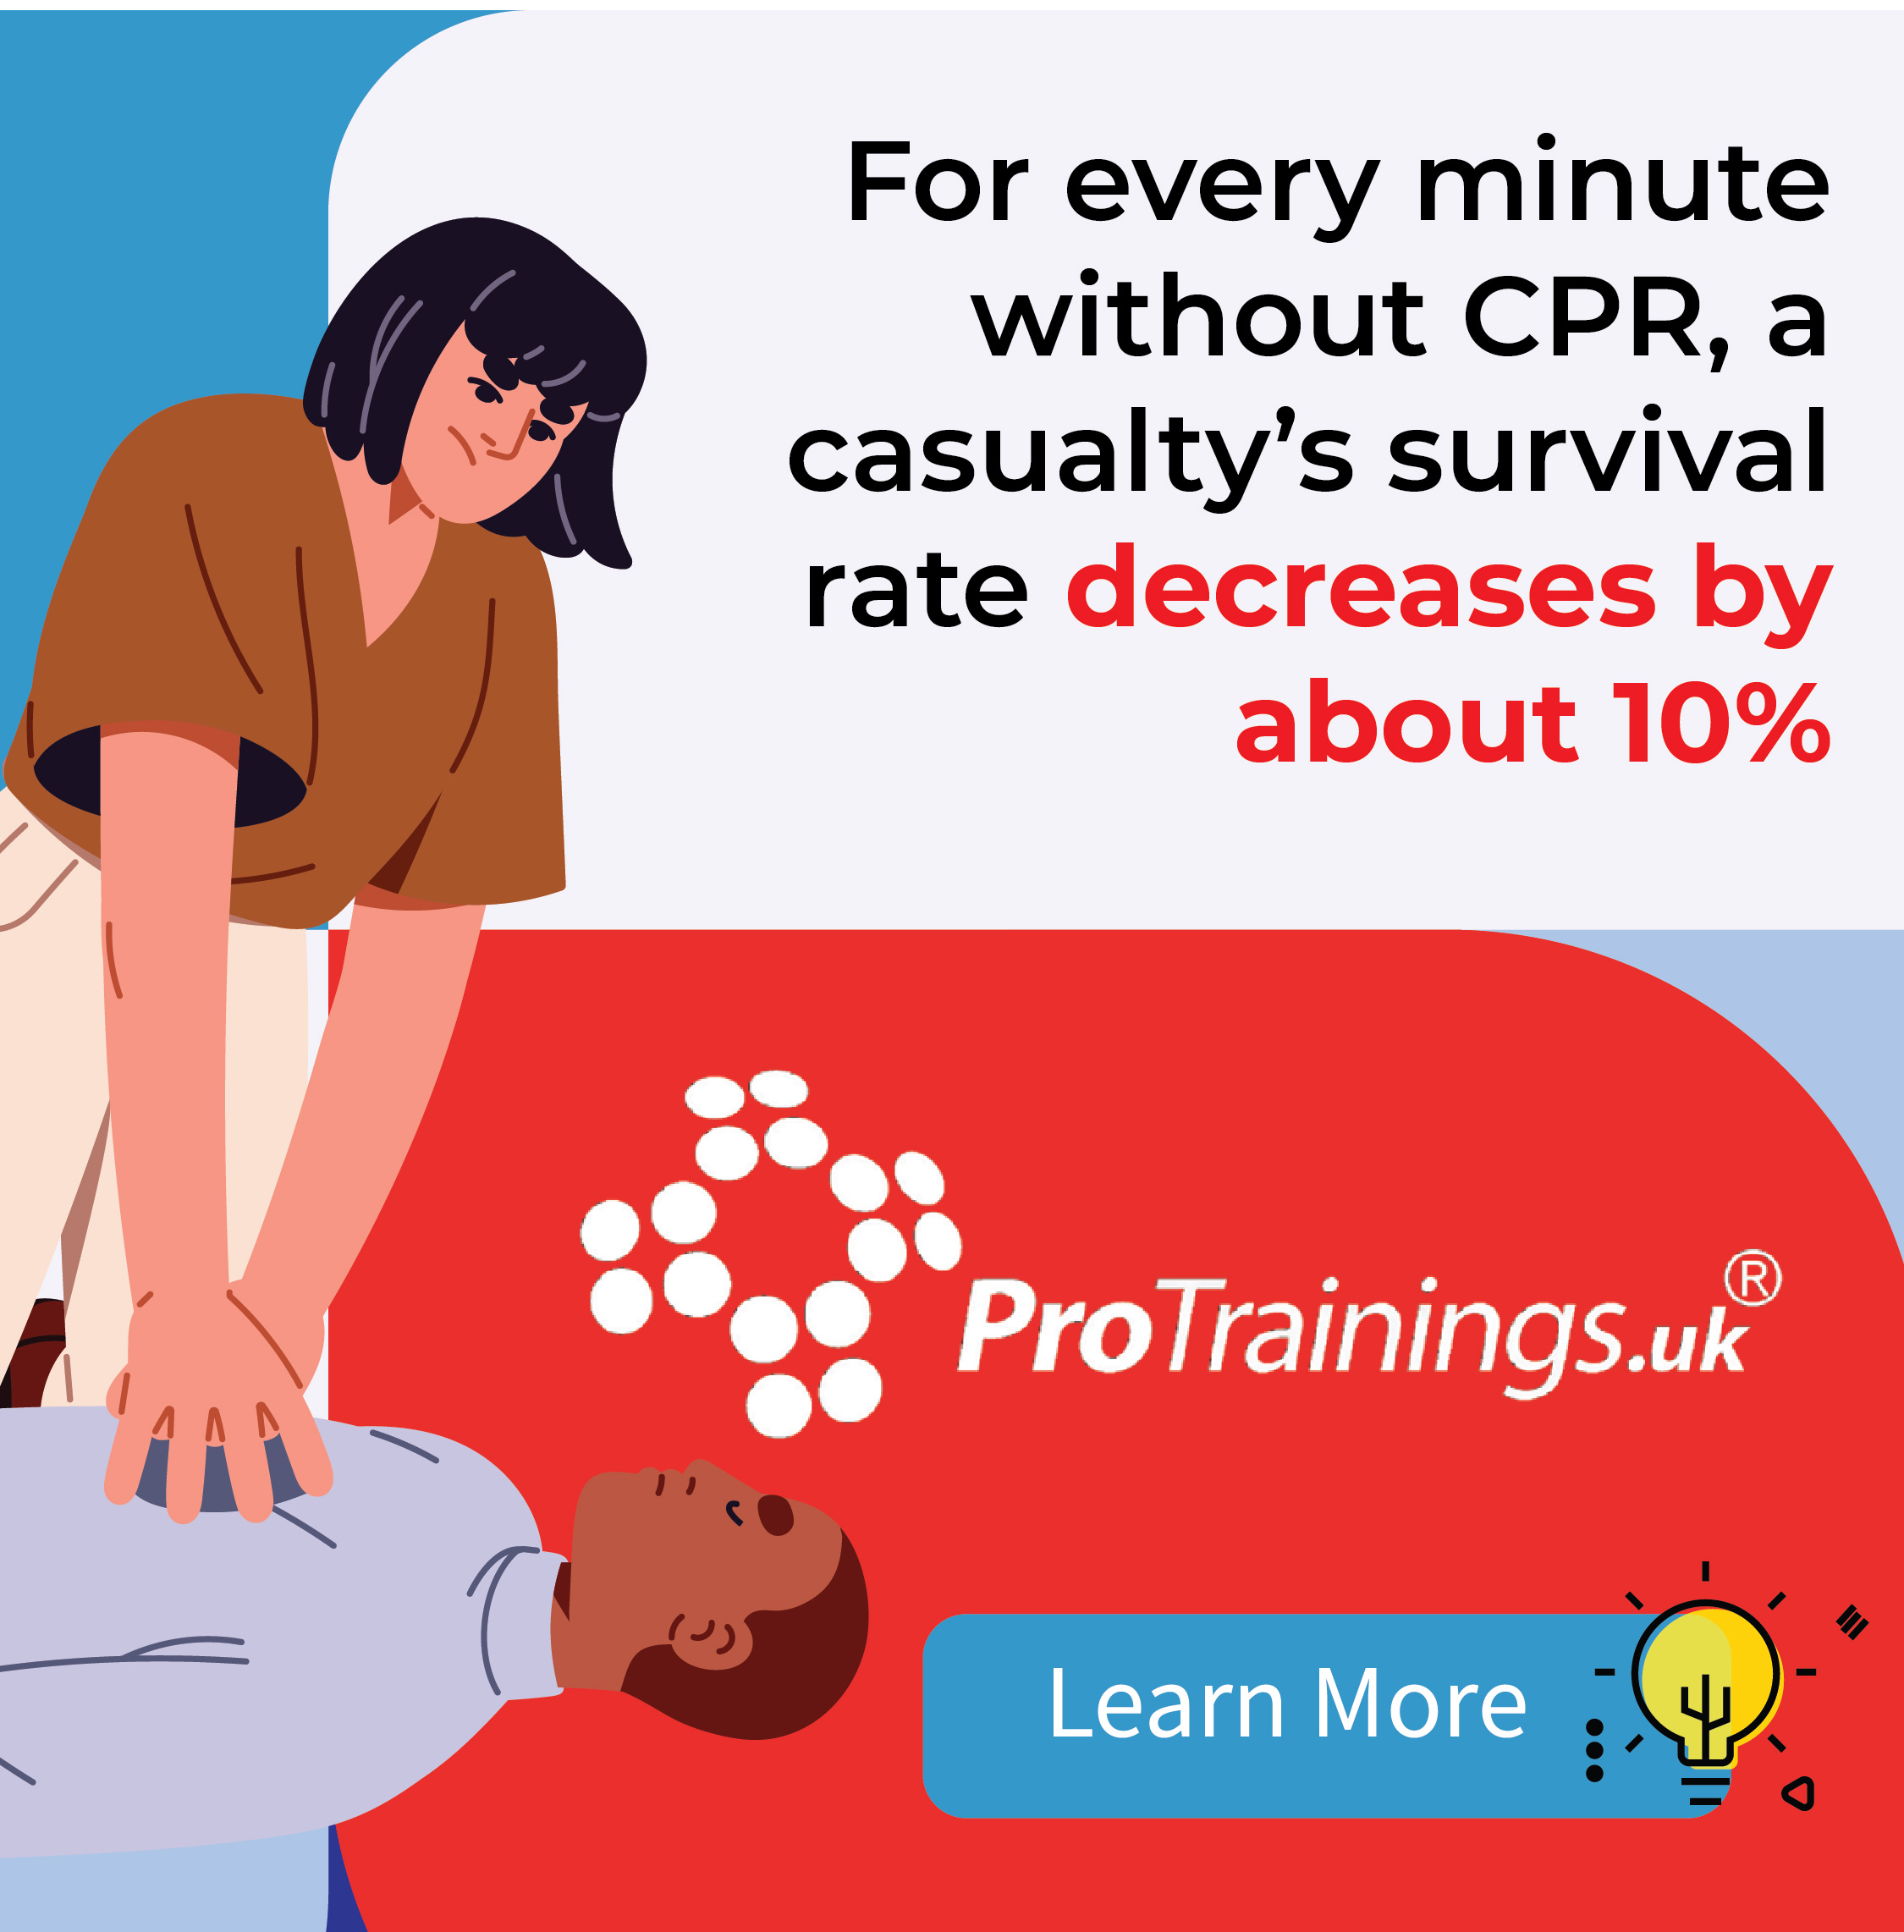
Immediate and effective BLS can significantly improve a casualty’s chance of survival. For every minute without CPR, a casualty’s survival rate decreases by about 10%. Quick action, especially the correct application of chest compressions and rescue breaths, can keep vital blood flow to the brain and other organs, preventing further damage.
The post Basic Life Support (BLS): A Guide to Saving Lives appeared first on Online Health & Safety Training Courses | ProTrainings Europe.
]]>The post How to Build a Custom First Aid Kit for Your Industry appeared first on Online Health & Safety Training Courses | ProTrainings Europe.
]]>When it comes to workplace safety, one size does not fit all. Whether you run a construction site, a beauty salon, or a corporate office, having a custom first aid kit that suits your environment is essential. Understanding what’s required by the BSI first aid kit standards and tailoring it to your specific risks is key to effective first aid provision and HSE compliance.
Why You Should Customise Your First Aid Kit
The Health and Safety Executive (HSE) states that employers are responsible for ensuring that adequate and appropriate first aid equipment is available at all times. The British Standards Institution (BSI) has issued guidance on first aid kit contents in BS 8599-1, but this is only a starting point.
Every industry faces unique hazards. A BSI first aid kit designed for an office may not meet the needs of a high-risk environment like a manufacturing plant or a farm. That’s where a needs assessment and tailored contents come into play.
BSI First Aid Kit Categories Explained
BSI BS 8599-1:2019 defines three sizes of kits depending on the number of people and risk level:
- Small Kit: Low-risk workplaces with fewer than 25 employees
- Medium Kit: Higher-risk workplaces or larger teams
- Large Kit: High-risk environments with 100+ employees
All BSI kits should include basics such as:
- Sterile dressings and bandages
- Eye pads
- Disposable gloves
- Adhesive plasters
- Resuscitation face shields
- Burn dressings
- Scissors and safety pins
But this standard kit may need to be enhanced depending on your industry-specific risks.
Examples of Industry-Specific Additions
| Industry | Recommended Additions |
|---|---|
| Construction | Critical injury packs, trauma dressings, tourniquets, eye wash stations |
| Hospitality & Catering | Blue detectable plasters, burn kits, antiseptic wipes |
| Education | Paediatric kits, hypoallergenic plasters, cold packs |
| Farming / Agriculture | Tick removers, saline solution, large wound dressings |
| Beauty & Aesthetics | Sharps containers, antiseptic solutions, gloves in multiple sizes |
How to Stay HSE Compliant
The best way to ensure compliance with HSE first aid kit requirements is to carry out a full first aid needs assessment. This will guide you in selecting the right size and type of kit, as well as any additional contents based on your identified risks.
Review your kit contents at least annually, or whenever changes in staff numbers, location, or workplace activities occur. Always ensure your kits are easily accessible and clearly marked.
Order Customised First Aid Kits with ProTrainings
At ProTrainings Europe Ltd, we supply a wide range of BSI-compliant first aid kits and specialist items, including trauma kits, burn kits, and eye wash stations. Whether you need a standard setup or a fully customised solution, our team can help you meet your legal obligations and protect your staff.
Final Thoughts
A well-stocked and tailored workplace first aid kit can make the difference between a minor incident and a serious injury. Don’t rely on generic kits—build a solution that fits your unique risks, supports your staff, and complies with all UK regulations.
Need help choosing the right kit? Contact us today.
The post How to Build a Custom First Aid Kit for Your Industry appeared first on Online Health & Safety Training Courses | ProTrainings Europe.
]]>The post Are Your First Aiders Trained for Catastrophic Bleeds? appeared first on Online Health & Safety Training Courses | ProTrainings Europe.
]]>First aid training traditionally focuses on everyday injuries like minor cuts, sprains, and burns. But what if the emergency is far more serious—like a catastrophic bleed? A catastrophic haemorrhage can lead to death in minutes if not treated immediately and correctly. Does your workplace have trained first aiders and the right equipment to handle such incidents?
What Is a Catastrophic Bleed?
A catastrophic bleed is a life-threatening external haemorrhage that cannot be controlled by standard first aid methods such as applying direct pressure or plasters. These injuries often result from:
- Severe workplace accidents (e.g., machinery or glass injuries)
- Road traffic collisions
- Stabbings or assaults
- Terror incidents or mass casualty events
- Industrial, agricultural or construction work
In these cases, time is critical. A person can bleed to death in under five minutes. Standard first aid kits are not enough.
Why Catastrophic Bleed Training Matters
Most workplace first aid courses don’t cover the skills needed to control severe bleeding. Catastrophic bleed training teaches how to use advanced tools such as:
- Tourniquets – for limb injuries where direct pressure isn’t sufficient
- Haemostatic dressings – impregnated with agents that help blood clot
- Pressure bandages – to stabilise wounds with continuous compression
- Bleed control kits – specialised kits that supplement your first aid provisions
These tools are simple to use but must be applied correctly. Without training, a well-meaning attempt can do more harm than good.
Who Should Have Catastrophic Bleed Training?
While it’s particularly vital in high-risk industries, catastrophic bleeding training is increasingly being adopted in a wide range of sectors, including:
- Security and door staff
- Schools and colleges
- Event venues and stadiums
- Retail and transport hubs
- Community groups and volunteers
In today’s world, being prepared for the worst-case scenario is more than just best practice—it’s a duty of care.
Upgrade Your First Aid Provision
At ProTrainings Europe Ltd, we offer specialist catastrophic bleeding and trauma first aid courses to equip your staff with the skills and confidence to respond to critical bleeding incidents.
Our training includes:
- Correct tourniquet placement and usage
- Application of haemostatic agents and trauma dressings
- Use of emergency trauma kits such as TrueClot, Norse Rescue, and WoundClot
View Catastrophic Bleed Course
Equip Your Workplace with the Right Bleed Control Kits
Alongside training, it’s vital to have the right equipment to hand. We supply UK-approved bleed control kits and trauma solutions tailored to different environments. All kits are compact, easy to store, and packed with professional-grade contents.
Final Thoughts
In a catastrophic bleeding emergency, your first aiders need more than basic skills—they need the confidence to act decisively with the right tools and training. Don’t let your workplace be caught unprepared.
Protect your team. Invest in catastrophic bleed training and trauma equipment today.
The post Are Your First Aiders Trained for Catastrophic Bleeds? appeared first on Online Health & Safety Training Courses | ProTrainings Europe.
]]>The post The Life-Saving Difference Between CPR and Defibrillation appeared first on Online Health & Safety Training Courses | ProTrainings Europe.
]]>When someone suffers a sudden cardiac arrest (SCA), every second counts. In those critical early minutes, understanding the difference between CPR and defibrillation can mean the difference between life and death. Although they work together in a rescue situation, they serve very different purposes. In this article, we’ll explain what each one does and why both are vital in an emergency.
What Is CPR?
Cardiopulmonary Resuscitation (CPR) is a manual technique that helps to pump blood around the body when the heart stops beating. CPR keeps oxygen flowing to the brain and vital organs, buying precious time until professional help or a defibrillator arrives.
It involves two main actions:
- Chest compressions – pushing down hard and fast in the centre of the chest (at least 100-120 times per minute)
- Rescue breaths (optional for trained individuals) – giving breaths mouth-to-mouth to supply oxygen
CPR alone cannot restart a heart that’s in a fatal rhythm like ventricular fibrillation – that’s where defibrillation comes in.
What Does a Defibrillator Do?
A defibrillator, or AED (Automated External Defibrillator), delivers an electric shock to the heart. The aim is to restore a normal rhythm in the event of a cardiac arrest. Most public AEDs are fully automated and easy to use, giving verbal instructions as soon as the device is activated.
Here’s what an AED does:
- Analyses the casualty’s heart rhythm
- Advises whether a shock is needed
- Charges and delivers the shock automatically or on button press
Defibrillation is the only treatment that can restore a shockable heart rhythm. CPR cannot do this on its own – it only sustains life temporarily.
CPR vs AED – What’s the Difference?
| CPR | Defibrillation (AED) |
|---|---|
| Manual chest compressions and rescue breaths | Electric shock delivered to the heart |
| Maintains oxygen circulation | Attempts to restart the heart or correct rhythm |
| Can be performed immediately with no equipment | Requires an AED, often found in public places |
| Essential to start straight away | Should be used as soon as available |
Both CPR and defibrillation are needed for the best chance of survival.
When Should You Use an AED?
You should use a defibrillator as soon as you suspect someone is in cardiac arrest:
- The person is unresponsive
- They are not breathing normally (or not at all)
Once 999 has been called, send someone to fetch the nearest AED while CPR is being carried out. The earlier a shock is delivered, the greater the chance of survival – ideally within the first 3–5 minutes.
CPR and AED Training Saves Lives
Every year in the UK, over 30,000 people suffer a cardiac arrest outside of hospital. Immediate CPR and defibrillation can double or even triple survival rates.
At ProTrainings Europe Ltd, we provide CPR and AED training for individuals, businesses, and organisations across the UK. Our AED training course teaches how to safely and confidently use a defibrillator in line with Resuscitation Council UK guidelines.
Final Thoughts
Understanding the difference between CPR and defibrillation can empower you to take life-saving action when it matters most. While CPR keeps the body alive, only an AED can reset the heart during a shockable arrest. That’s why every workplace, school, and public building should have an accessible defibrillator and trained staff.
Be ready to act – book your CPR and AED training today.
The post The Life-Saving Difference Between CPR and Defibrillation appeared first on Online Health & Safety Training Courses | ProTrainings Europe.
]]>The post Why Every Workplace Needs a First Aid Needs Assessment appeared first on Online Health & Safety Training Courses | ProTrainings Europe.
]]>Ensuring the safety and wellbeing of your staff is not just a moral responsibility—it’s a legal requirement. A first aid needs assessment is a vital step for any business to comply with the HSE first aid regulations and to make sure the right provisions are in place in the event of a medical emergency.
What Is a First Aid Needs Assessment?
A first aid needs assessment is a review carried out by an employer to determine what first aid arrangements are necessary in their workplace. This includes identifying potential hazards, the nature of the work, the size of the workforce, shift patterns, and previous incidents.
It ensures that your first aid training and equipment are suitable for your specific working environment, helping you stay compliant with workplace first aid regulations.
Is It a Legal Requirement?
Yes. Under the Health and Safety (First-Aid) Regulations 1981, all UK employers must provide adequate and appropriate equipment, facilities, and personnel for first aid. The law does not dictate exact numbers of first aiders or specific equipment—it leaves that to the outcome of your assessment.
What Should Be Considered in Your First Aid Risk Assessment?
- Number of employees and visitors on site
- Types of activities undertaken (office work, manual labour, lone working, etc.)
- Workplace layout and location (remote or urban)
- Past medical incidents or near misses
- Availability of emergency services
- Shifts, night work, or irregular hours
Based on your findings, you can determine the right level of first aid training, number of trained staff, and appropriate first aid kits needed.
How Often Should You Review It?
Your first aid needs assessment should be reviewed:
- Annually as a minimum
- After any significant changes to staff, work activities, or location
- Following a medical emergency or health and safety incident
Failing to keep your assessment up to date could mean your provision no longer meets your legal duties, putting your staff at risk and leaving your business vulnerable to penalties.
How ProTrainings Can Help
At ProTrainings Europe Ltd, we offer comprehensive guidance and first aid training to help your business meet its HSE first aid compliance. Our video online, blended, and classroom training options are tailored to suit your workplace needs.
We also provide support in carrying out first aid needs assessments and ensuring your workplace is fully prepared in the event of an emergency.
Free First Aid Needs Assessment Template
Need help getting started? Download our free First Aid Needs Assessment Template to complete your risk review with ease.
Final Thoughts
Whether you run a small office or a large industrial site, a well-executed first aid needs assessment is the first step in protecting your workforce and staying legally compliant.
Don’t wait for an emergency to expose the gaps in your planning. Make sure your team has the right training, tools, and confidence to act when it matters most.
Need advice or training? Contact our team today.
The post Why Every Workplace Needs a First Aid Needs Assessment appeared first on Online Health & Safety Training Courses | ProTrainings Europe.
]]>The post Seven Essential First Aid Skills Every Workplace Needs appeared first on Online Health & Safety Training Courses | ProTrainings Europe.
]]>- Assessing Emergencies: Use the DRSABCD method to evaluate danger, check response, and manage the situation.
- CPR and AED Use: CPR can double survival rates, and AEDs are crucial for cardiac emergencies.
- Stopping Major Bleeding: Learn the ABC method – Alert, Bleeding, Compress – and use tools like tourniquets effectively.
- Choking Response: Master the Heimlich manoeuvre and modify techniques for pregnant or obese individuals.
- Burn Treatment: Treat thermal, chemical, and electrical burns quickly and correctly.
- Fractures and Sprains: Use immobilisation and the RICE method (Rest, Ice, Compression, Elevation) for injuries.
- Recognising Medical Emergencies: Identify heart attacks, strokes, allergic reactions, and diabetic issues using clear protocols.
Why It Matters
- Proper first aid boosts employee safety, satisfaction, and productivity.
- HSE compliance and training reduce liability and workplace injuries by up to 50%.
Invest in training, maintain updated first aid kits, and conduct regular drills to create a safer workplace.
How to Use an AED on an Adult
1. How to Assess Emergency Situations
Taking quick, organised steps can safeguard both victims and responders during emergencies.
The “DRSABCD” action plan is a globally accepted method for evaluating workplace emergencies:
1. Check for Danger
Look for any risks in the area, such as electrical issues, chemicals, structural damage, or active threats.
2. Check Response
Use the ‘shout-tap-shout’ method to check if the person is responsive. If there’s no response, contact emergency services right away.
3. Send for Help
Assign someone to call emergency services. When making the call, provide the following details:
| Information to Provide | Example |
|---|---|
| Location | Building name, floor, and specific area |
| Nature of Emergency | Type of injury or incident |
| Number of Victims | How many people are affected and their condition |
| Hazards Present | Any dangers responders need to know about |
| Contact Person | Your name and phone number |
Once help is on the way, move to check the airway and breathing.
4. Check Airway and Breathing
Look for chest movement and listen for breathing sounds. If the person is unconscious but breathing, position them in recovery mode. If they’re not breathing, start CPR.
5. Assess Circulation
If there’s major bleeding, apply direct pressure to control it while waiting for emergency responders.
Critical Warning Signs
Be alert for these signs of immediate danger:
- Changes in consciousness
- Trouble breathing
- Chest pain or pressure
- Sudden weakness
- Heavy bleeding
- Symptoms of shock
Handling Multiple Casualties
In situations with multiple victims, use the START triage system tos care:
- Red (Immediate): Critical injuries needing urgent attention.
- Yellow (Delayed): Serious injuries that can wait for a short time.
- Green (Minor): Minor injuries; victims can walk and wait.
- Black (Deceased): No signs of life.
Document all actions and observations during the emergency for future reference.
Personal Protection
Always use proper protective gear to keep yourself safe to ensure effective infection control:
- Disposable gloves
- Face masks (if available)
- Eye protection for splashes
- Protective clothing for contamination risks
2. CPR and Heart Emergency Response
Once the initial emergency assessment is complete, knowing how to perform CPR is the next step in handling cardiac emergencies effectively.
Performing CPR can double or even triple survival rates during workplace cardiac emergencies. Employees need to be well-trained to act quickly and confidently.
Recognising Cardiac Emergencies
Watch for these warning signs of a heart attack in coworkers:
- Chest discomfort that feels like pressure or squeezing
- Pain radiating to the arms, neck, or jaw
- Sudden shortness of breath
- Cold sweats, often with nausea
- Lightheadedness or dizziness
Women might show less obvious symptoms, such as shortness of breath, nausea, or jaw pain.
Modern CPR Technique
Follow these updated chest compression guidelines for effective CPR:
| Component | Specification | Key Details |
|---|---|---|
| Rate | 100–120 per minute | Match the beat of “Stayin’ Alive” |
| Depth | At least 5-6 cm | Ensure full chest recoil |
| Position | Center of the chest | Between the nipples |
| Interruptions | Minimise | Avoid unnecessary pauses |
Using Workplace AEDs
When using an AED:
- Turn it on and attach the electrode pads to the exposed chest.
- Stand clear while the AED analyses the heart rhythm.
- If a shock is recommended, deliver it.
- Resume CPR immediately after the shock.
AEDs are a critical part of the workplace response system and can save lives when used correctly.
Workplace Chain of Survival
The workplace chain of survival involves these key steps:
- Early Recognition: Train employees to identify cardiac emergencies and activate the workplace emergency response system.
- Immediate CPR: Start chest compressions without delay.
- Rapid Defibrillation: Make AEDs easily accessible and clearly marked for quick use.
Special Workplace Considerations
Certain work environments require extra precautions:
- Electrical Work: Use insulated tools and follow electrocution safety protocols.
- Remote Locations: Plan evacuation routes and designate meeting points.
- Multi-Level Buildings: Place AEDs on each floor for easy access.
- Shift Work: Ensure trained responders are available 24/7.
Training Requirements
To maintain readiness, workplaces should:
- Renew CPR certifications every year.
- Perform monthly AED inspections.
- Conduct quarterly emergency drills.
- Keep records of all training and certifications.
- Ensure that the instructor teaching the course, has the correct first aid instructor rating from an established company like ITG Instructor Training.
3. How to Stop Major Bleeding
After addressing heart emergencies, controlling heavy bleeding is the next priority. Containing blood loss quickly can save lives in workplace emergencies. Studies show that uncontrolled bleeding causes 35% of pre-hospital deaths and 40% of deaths within the first 24 hours of injury.
The ABC Method for Bleeding Control
The “ABC” method provides straightforward steps to manage severe bleeding:
- Alert: Activate your workplace’s emergency protocol.
- Bleeding: Identify where the bleeding is coming from.
- Compress: Apply firm, steady pressure to the wound to slow blood loss.
Direct Pressure Technique
Direct pressure is one of the most effective ways to handle severe bleeding. Here’s how to do it properly:
| Step | Action | Notes |
|---|---|---|
| 1 | Put on disposable gloves | Protects both responder and victim |
| 2 | Apply firm, continuous pressure | Hold pressure for at least 15 mins |
| 3 | Use sterile gauze or a clean cloth | Add layers if blood soaks through |
| 4 | Elevate the injured area if possible | Only if it doesn’t worsen the pain |
Advanced Bleeding Control Methods
If direct pressure isn’t enough, consider these additional measures:
- Haemostatic Dressings: Products like Woundlot or Celox are effective for areas where tourniquets can’t be used.
- Tourniquet Application: Place a tourniquet 2–3 inches above the wound. Tighten until the bleeding stops and note the time of application. Proper use has a 78–87% success rate for controlling severe limb bleeding.
Workplace-Specific Considerations
Different environments call for tailored bleeding control strategies:
- Industrial Settings: Keep trauma kits near machinery prone to accidents.
- Remote Locations: Stock extra supplies, including hemostatic agents.
- Office Environments: Ensure first aid stations are easy to find with clear signage.
Updating Workplace First Aid Kits
Make sure your workplace first aid kits include:
- Sterile gauze and trauma pads in various sizes
- Hemostatic gauze or agents
- Commercial tourniquets
- TourniKEY or improvised tourniquet
- Compression bandages or wraps
- Trauma shears for cutting clothing or bandages
Training for Bleeding Control
Hands-on training is essential for effective bleeding management. Safety programs should include practice with wound simulators, regular drills, and refresher courses.
Integrating these techniques into workplace safety plans enhances overall emergency readiness.
4. Choking Response and Rescue
Choking is a leading cause of unintentional injury deaths, with 20% of cases occurring in workplace settings.
Recognising Choking Signs
Look for these signs to identify choking:
- Hands held to the throat (the universal choking sign)
- Difficulty speaking or breathing
- Wheezing or noisy attempts to breathe
- Skin turning blue
- Weak or ineffective coughing
Standard Response Protocol
Five back slaps followed by five abdominal thrusts are the primary response for conscious adults. Follow these steps:
| Step | Action | Details |
|---|---|---|
| 1 | Position | Stand behind the person and wrap your arms around their waist. |
| 2 | Hand placement | Make a fist, place it above the navel, and hold it with your other hand. |
| 3 | Thrust technique | Deliver strong, upward abdominal thrusts. |
| 4 | Continue | Repeat until the object is dislodged or the person’s condition worsens. |
Adjust your method based on the individual’s needs.
Special Circumstances
Some situations call for modified techniques:
Pregnant or Obese Individuals: Use chest thrusts instead of abdominal thrusts. Place your hands in the center of the breastbone and apply quick, backward thrusts.
Infants Under One Year:
- Support the infant face-down on your forearm.
- Give 5 back blows between the shoulder blades.
- Turn the infant face-up and perform 5 chest thrusts if needed.
- Alternate between back blows and chest thrusts until the blockage is cleared.
Unconscious Victim Protocol
If the person becomes unconscious:
- Call emergency services immediately.
- Start CPR with chest compressions.
- Check the mouth for visible obstructions between compressions.
- Continue until help arrives.
These steps highlight the importance of proper first aid training in workplaces.
Workplace Implementation
In June 2022, employee in Columbus, saved a customer’s life using abdominal thrusts. This real-world example shows why choking response should be part of workplace first aid training.
Key measures to put in place:
- Display choking response posters in eating areas and break rooms.
- Organise practical training sessions with certified instructors.
- Keep emergency response protocols updated.
- Record all choking incidents and responses.
- Schedule regular training refreshers.
Common Mistakes to Avoid
Avoid these errors during choking emergencies:
- Placing thrusts too high or low on the abdomen.
- Using insufficient force during the abdominal thrusts.
- Performing the abdominal thrusts on someone who can still cough effectively.
- Delaying the call to emergency services.
- Misplacing hands when assisting an infant.
5. Burn Care and Treatment
Quick and appropriate action can significantly reduce the damage caused by burns, which make up 5% of workplace injuries – 70% of these involve hands and arms. Knowing the types of burns that occur in the workplace is key to responding effectively.
Types of Workplace Burns
| Burn Type | Common Sources |
|---|---|
| Thermal | Hot surfaces, steam, flames |
| Chemical | Corrosive substances |
| Electrical | Live wires, equipment |
- Thermal burns cause visible skin damage like redness.
- Chemical burns continue to harm tissue until properly neutralised.
- Electrical burns may result in hidden internal injuries, making them especially dangerous.
Assessing Burn Severity
After identifying the type of burn, evaluate its severity using the rule of nines. This method divides the body into sections, each representing 9% of the total surface area. Seek immediate medical care if:
- Burns cover more than 10% of the body
- Burns occur on the face, hands, feet or genitals
- Electrical burns are present, due to possible internal injuries
Immediate Response Protocol
Thermal Burns:
- Move the person away from the heat source.
- Run cool water over the burn for at least 20 minutes.
- Remove jewelry and loose clothing near the area.
- Cover the burn with sterile gauze.
- Watch for signs of shock.
Chemical Burns:
- Rinse the affected area with cool water for at least 20 minutes.
- Remove contaminated clothing while continuing to flush the area.
- Check the MSDS (Material Safety Data Sheet) for neutralisation steps.
- Get medical help immediately.
Essential First Aid Kit Components
Every workplace should have a burn care kit that includes:
- Sterile gauze in multiple sizes
- Non-stick dressings
- Burn gel
- Clean cloths for cooling burns
- Disposable gloves
- Saline solution
- Burn blankets
Real-World Example
In June 2022, a worker at ABC Manufacturing suffered a partial thickness burn from hot metal splatter. The first aid team acted quickly, cooling the burn with running water for 15 minutes and applying a sterile non-stick dressing. Their swift response cut the worker’s recovery time from 4 weeks to 2 weeks.
Critical Mistakes to Avoid
- Never apply ice directly to burns.
- Avoid using butter, oils, or home remedies.
- Do not remove clothing stuck to the burn.
- Leave blisters intact – don’t pop them.
- Always seek medical care for severe burns without delay.
- Don’t underestimate small burns that are deep.
Prevention and Training
To reduce burn injuries, workplaces should provide regular first aid training that includes:
- Hands-on sessions with certified instructors
- Scenario-based exercises tailored to workplace risks
- Clear, step-by-step protocols for each burn type
- Periodic skill refreshers
- Convenient placement of burn care supplies
Well-executed burn care not only minimises injury but also strengthens workplace safety practices. Even small burns can become serious without prompt treatment[8].
6. Broken Bone and Sprain Care
Musculoskeletal injuries make up 30% of workplace incidents that require time off work. Quick identification and proper care are key to better recovery.
How to Tell Fractures from Sprains
| Injury Type | Key Symptoms | Response |
|---|---|---|
| Fractures | Severe pain, visible deformity, grinding sensation | Immobilise immediately, seek emergency care |
| Sprains | Swelling, limited motion, possible popping sound | Follow the RICE method, consult a doctor |
| Open Fractures | Bone protrusion, bleeding | Control bleeding, get urgent medical help |
Immediate Care Steps
For different injuries, use these immobilisation tips:
Arm Injuries: Use a sling to support the arm, immobilise above and below the injury, and remove any jewelry to prevent complications.
Leg Injuries: Keep the person still, apply rigid supports along the leg, and pad bony areas to minimise discomfort.
The RICE Method for Sprains
The RICE method is a simple and effective way to manage sprains:
- Rest: Stop using the injured area immediately.
- Ice: Use cold packs for 15–20 minutes every 2–3 hours.
- Compression: Wrap the area with elastic bandages, but not too tightly.
- Elevation: Raise the injured area above heart level to reduce swelling.
Must-Have First Aid Supplies
A well-equipped workplace first aid kit should include:
- Sterile gauze in various sizes
- Triangular bandages for slings
- Cold packs or instant cold compresses
- SAM splints for versatile support
- Elastic compression wraps
These items are crucial for effective first aid, as shown in the following example.
Real-Life Example
A manufacturing plant in Ohio reduced lost workdays by 40% and saved about £130,000 in productivity costs after introducing a focused training program for handling musculoskeletal injuries.
Common Mistakes to Avoid
- Never try to realign or “set” a suspected fracture.
- Don’t apply heat to a fresh sprain – it can worsen swelling.
- Always address numbness or tingling; ignoring it can lead to serious complications.
Preventing Injuries at Work
While avoiding mistakes is important, prevention is even better. The average recovery time for sprains and strains is 12 days. Reduce risks with these safety measures:
- Conduct regular hazard assessments.
- Train employees on proper lifting techniques.
- Ensure adequate lighting throughout the workplace.
- Apply non-slip treatments to floors.
- Keep walkways clear of obstacles.
For suspected spinal injuries, it’s critical to keep the person still and wait for professional medical help.
7. Spotting Common Medical Emergencies
Recognising the signs of medical emergencies quickly can save lives. In fact, for some conditions, every minute of delay can reduce survival chances by 7–10%. Knowing how to identify and respond to these situations is a key part of maintaining workplace safety.
Critical Signs of Major Emergencies
| Emergency Type | Key Signs | Immediate Action |
|---|---|---|
| Heart Attack | Chest pressure, arm/jaw pain, shortness of breath, cold sweat | Call emergency services, help the person rest, and give aspirin if allowed |
| Stroke (FAST) | Face drooping, arm weakness, speech difficulty | Note when symptoms started and call emergency services |
| Severe Allergic Reaction | Difficulty breathing, throat swelling, widespread hives | Use an epinephrine auto-injector if available and call emergency services |
| Diabetic Emergency | Confusion, sweating, weakness (low blood sugar) or extreme thirst with fruity breath (high blood sugar) | Provide a fast-acting sugar source if conscious; call emergency services if unconscious |
Below, you’ll find more details on how to recognise and respond to these emergencies effectively.
Heart Attack Recognition
While chest pain is a common symptom, women may experience less typical signs such as nausea, extreme fatigue, dizziness, or pain in the back or jaw. Always call emergency services immediately – never attempt to transport the person yourself.
Stroke Response: The FAST Method
Stroke symptoms require immediate attention. The FAST method simplifies recognition:
- F (Face): Ask the person to smile; look for one side drooping.
- A (Arms): Have them lift both arms; check for one arm drifting downward.
- S (Speech): Ask them to repeat a simple phrase; listen for slurred or strange speech.
- T (Time): Note the time symptoms began and call emergency services immediately.
If treated within three hours, the risk of long-term disability can be reduced by 30%.
Seizure Management
If someone is having a seizure, focus on keeping them safe:
- Remove objects nearby to prevent injury.
- Protect their head but avoid restraining them.
- Never put anything in their mouth.
- Time the seizure.
Call emergency services if the seizure lasts longer than 5 minutes, the person has multiple seizures, is injured, or if it’s their first seizure.
Heat-Related Emergencies
Heat-related conditions can escalate quickly, so it’s vital to know the warning signs:
- Heat Exhaustion: Symptoms include heavy sweating, cool/pale skin, dizziness, and a fast, weak pulse.
- Heat Stroke: Look for hot, red skin, confusion, loss of consciousness, and a body temperature of 103°F or higher.
For heat stroke, move the person to a cool place immediately and call emergency services.
Workplace Emergency Preparedness
Being prepared for medical emergencies is just as important as having plans for injuries. Make sure your workplace includes:
- An Automated External Defibrillator (AED).
- Emergency contact numbers.
- A list of employees with known medical conditions.
- First aid supplies tailored to workplace risks.
How to Set Up First Aid Training
Creating a solid first aid training program requires careful planning and execution. OSHA regulations emphasise the importance of having accessible first aid supplies and trained personnel on-site [6].
Assessing Training Needs
Start by conducting a workplace hazard assessment. This helps identify:
- The number of first aiders needed
- Common injury risks specific to your workplace
- The equipment and supplies required
- Key training modules to focus on
This evaluation shapes the foundation of your training program.
Building an Effective Program
Make sure your program covers the essentials. Below are some core components:
| Training Component | Frequency | Key Elements |
|---|---|---|
| Initial Certification | New employees | Basic life support, emergency assessment, wound care |
| CPR/AED Refresher | Every 2 years | Hands-on practice, updated techniques |
| General First Aid | Annually | Situational training, proper equipment usage |
| Emergency Response | Regular drills | Team coordination, communication protocols |
Using Digital Tools
Digital platforms can simplify training management. For example, the ProTrainings platform helps you:
- Track certification expiration dates
- Maintain attendance records
- Conduct skills evaluations
- Keep compliance documentation organised
Choosing the Right Training Provider
Work with accredited providers like ProTrainings Europe. They offer flexible options, including video modules, blended learning, on-site training, weekly refreshers, and instant certification tracking.
Measuring Success
Evaluate your program’s effectiveness by tracking:
- Faster response times during emergency drills
- Fewer severe workplace incidents
- Increased employee confidence in handling emergencies
- Adherence to regulatory standards
To highlight the importance of first aid, private industry recorded 2.8 million nonfatal workplace injuries in 2022.
Adapting for Remote Teams
For remote employees, tailor your program with options like:
- Virtual instructor-led sessions
- Personal first aid kits shipped to participants
- Video demonstrations for self-paced learning
- Virtual reality simulations for hands-on practice
Conclusion
First aid preparedness at work is about more than meeting regulations – it’s about protecting employees and ensuring the company can handle emergencies effectively. With a worker getting injured every 7 seconds, it’s clear that being ready to respond is crucial.
Workplaces with AED devices and CPR-trained staff have seen survival rates for cardiac arrest victims climb to as high as 60%. On top of that, 25% of emergency room visits could be avoided with basic first aid. Training employees in first aid not only saves lives but also cuts down on unnecessary hospital trips.
Why First Aid Makes Business Sense
Investing in a solid first aid program provides real advantages:
- Quick responses can limit the severity of injuries
- Boosts employee confidence
- Strengthens overall workplace safety
- Can reduce insurance costs
- Keeps your workplace compliant with HSE standards.
Skills That Go Beyond the Office
First aid training doesn’t just benefit the workplace. These skills prepare employees to handle emergencies in their personal lives and communities as well. By equipping your team with these abilities, you’re not just protecting them – you’re contributing to a safer, more prepared community.
Regular training sessions and practice drills help ensure these skills stay sharp. Building a culture of readiness strengthens safety at every level.
FAQs
Is first aid training required by HSE?
HSE requires first aid training when there isn’t a nearby medical facility. In such cases, at least one employee per shift must be trained to provide first aid. Key points include:
- Construction and logging industries have stricter first aid training requirements.
- First aid supplies must always be easily accessible [1].
Now, let’s dive into a crucial aspect of first aid readiness.
What is the most important first aid skill?
The combination of CPR (Cardiopulmonary Resuscitation) and AED (Automated External Defibrillator) use is considered the most vital first aid skill [2]. Here’s why:
- CPR significantly improves survival chances.
- Without defibrillation, survival rates drop by 7–10% for every minute that passes.
Organisations like the Health and Safety Executive recommend refresher training every years to ensure teams stay prepared and capable of saving lives. This emphasises the importance of maintaining strong emergency response readiness.
The post Seven Essential First Aid Skills Every Workplace Needs appeared first on Online Health & Safety Training Courses | ProTrainings Europe.
]]>The post What is a Life-Threatening Injury? appeared first on Online Health & Safety Training Courses | ProTrainings Europe.
]]>Common Types of Life-Threatening Injuries
Some of the most common life-threatening injuries include: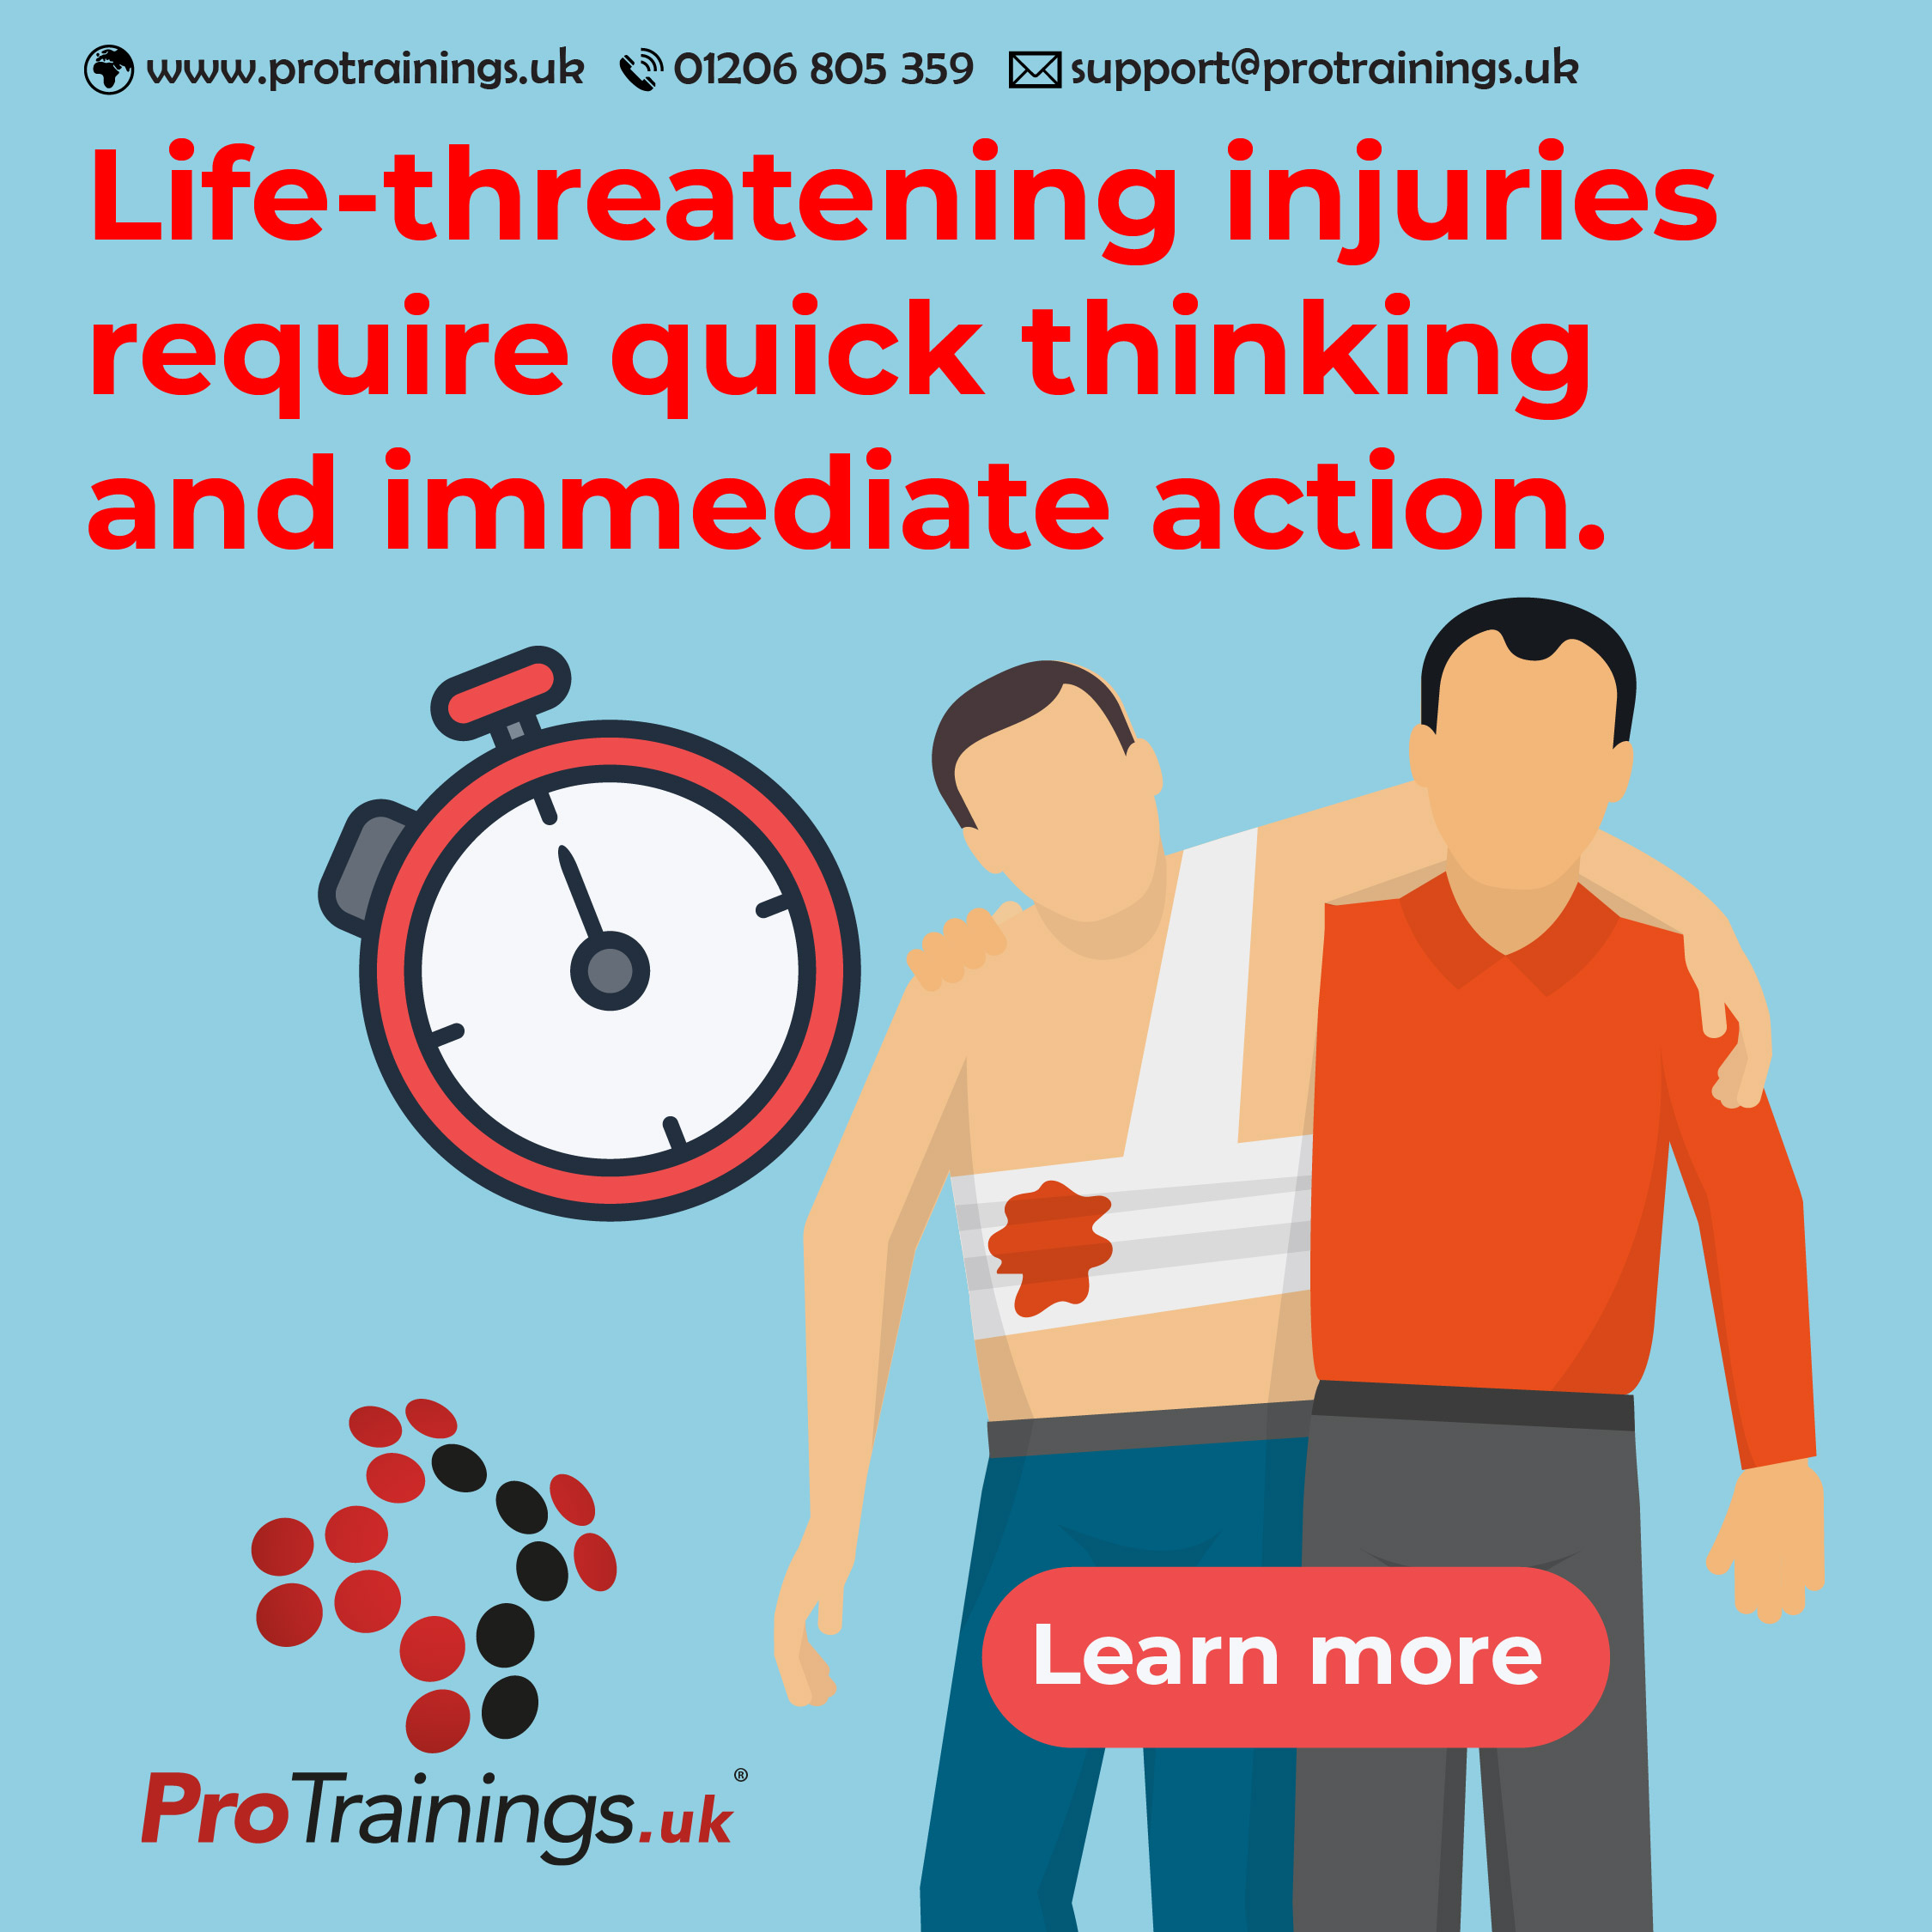
1. Severe Bleeding
Uncontrolled bleeding, also known as haemorrhage, can lead to shock and death if not managed quickly. Arterial bleeding, in particular, is a major concern as it involves bright red blood spurting from the wound with each heartbeat. Applying direct pressure, using a tourniquet, or packing the wound with a haemostatic dressing can help control severe bleeding until emergency services arrive.
2. Cardiac Arrest
Cardiac arrest occurs when the heart stops beating effectively, preventing oxygen from reaching the brain and other vital organs. Immediate CPR (cardiopulmonary resuscitation) and the use of a defibrillator (AED) can improve survival chances significantly.
3. Head and Spinal Injuries
A severe head injury, such as a traumatic brain injury (TBI), can cause loss of consciousness, confusion, or seizures. Spinal injuries, particularly those involving the neck, can result in paralysis or even death if the spinal cord is damaged. Keeping the patient still and supporting their head and neck is crucial until medical help arrives.
4. Major Burns
Burns that cover large areas of the body, particularly deep burns that affect multiple layers of skin, can lead to shock, infection, and organ failure. Immediate cooling of the burn with lukewarm water and covering it with a sterile dressing is essential before professional medical care is provided.
5. Choking and Airway Blockages
A blocked airway prevents oxygen from reaching the lungs, which can be fatal within minutes. Signs include difficulty breathing, wheezing, or clutching at the throat. Performing back blows, abdominal thrusts (Heimlich manoeuvre), or encouraging the person to cough can help dislodge the obstruction.
6. Severe Anaphylaxis
Anaphylaxis is a severe allergic reaction that can cause swelling of the airway, difficulty breathing, and a drop in blood pressure. Immediate administration of adrenaline via an EpiPen and seeking emergency medical assistance is vital.
7. Chest Injuries
Serious chest injuries, such as penetrating wounds, rib fractures, or collapsed lungs, can severely affect breathing and circulation. In some cases, creating an open seal over a sucking chest wound can help manage the injury before professional help arrives.
What to Do in an Emergency
If someone is experiencing a life-threatening injury, take the following steps:
- Call 999 immediately. Provide clear and concise information about the condition of the injured person.
- Ensure safety. Remove any immediate dangers to yourself and the injured person if possible.
- Provide first aid. Use the appropriate techniques, such as CPR, stopping bleeding, or positioning the person safely.
- Stay with the person. Offer reassurance and monitor their condition until emergency services arrive.
Conclusion
Life-threatening injuries require quick thinking and immediate action. Being prepared by learning first aid skills, such as those taught in professional training courses, can help save lives. Whether at home, in the workplace, or in public spaces, knowing how to respond effectively in an emergency is invaluable.
If you’re interested in learning more about first aid and emergency response, contact support@protrainings.uk
The post What is a Life-Threatening Injury? appeared first on Online Health & Safety Training Courses | ProTrainings Europe.
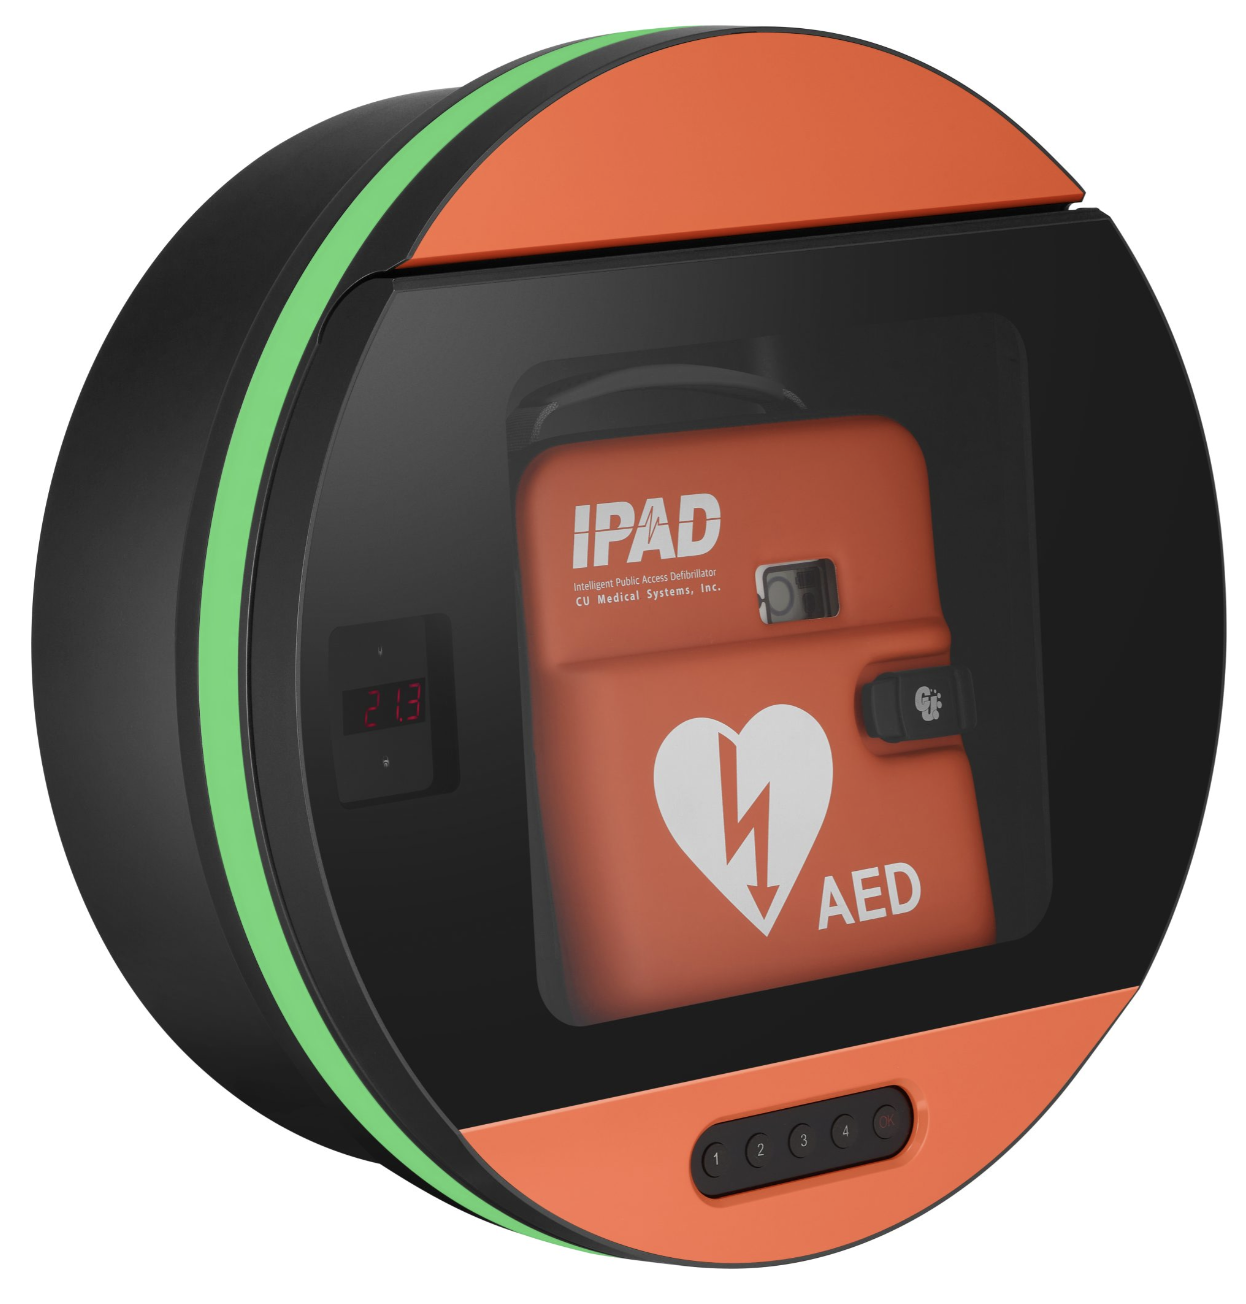
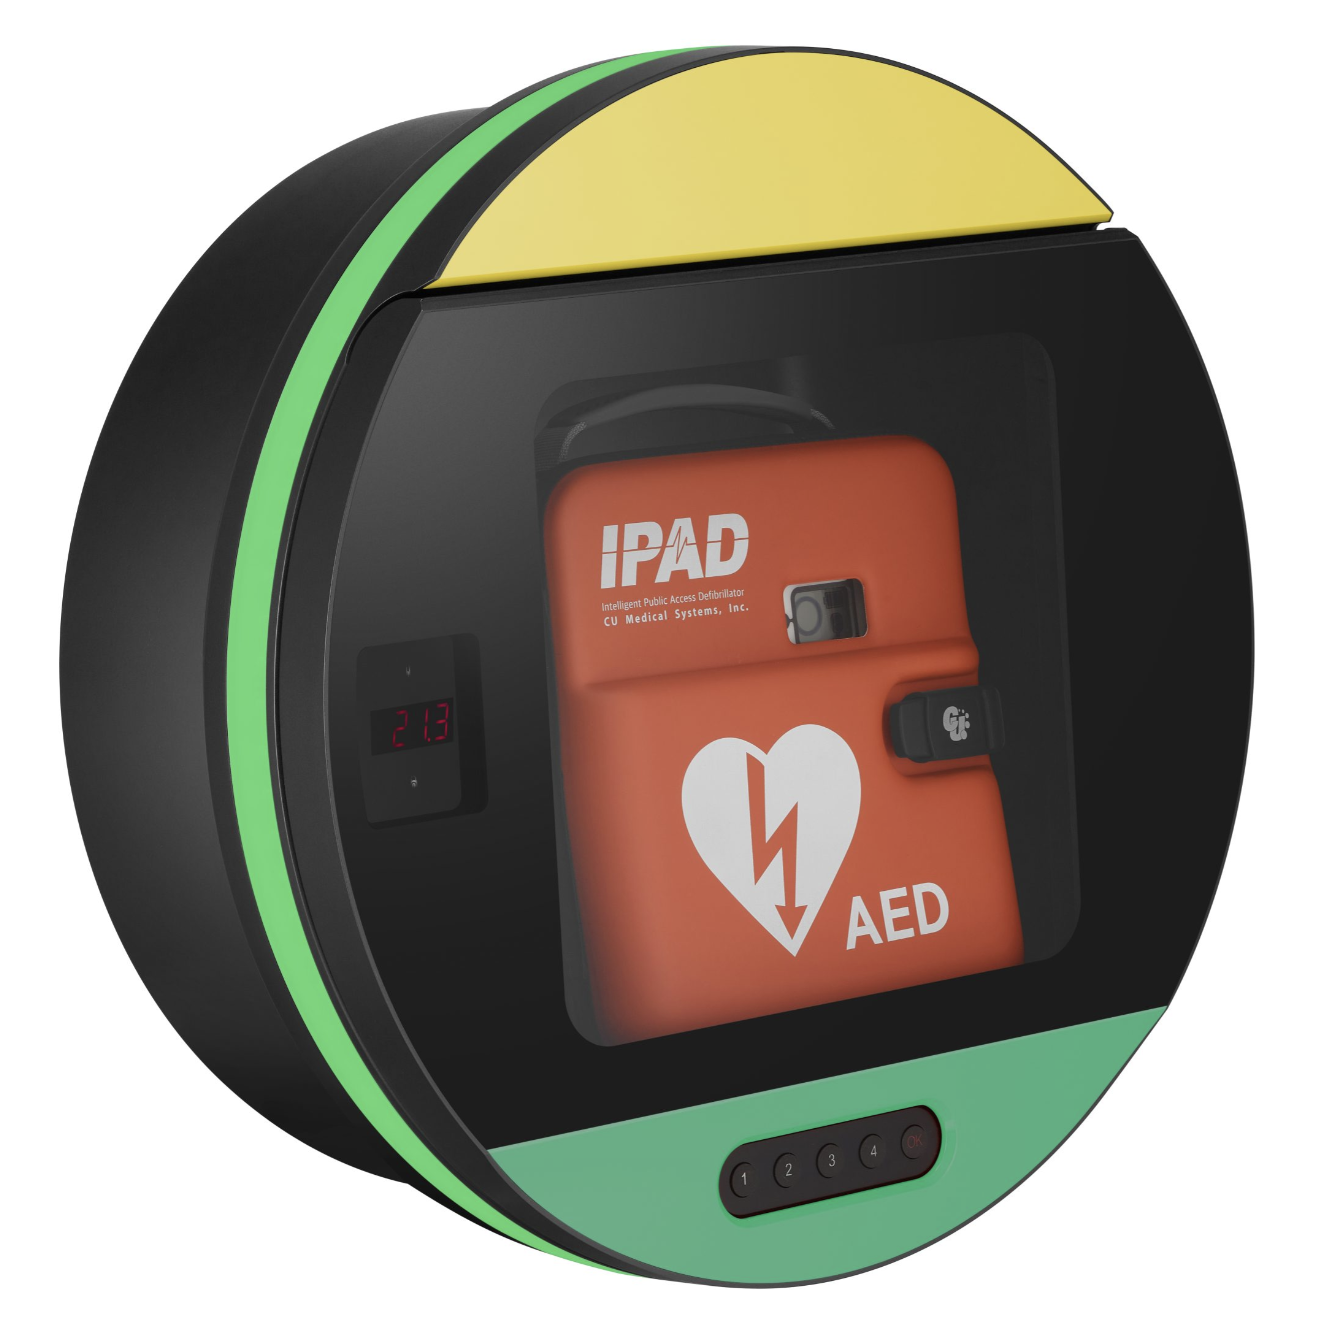
]]>The post The DefibSafe 3 AED cabinet appeared first on Online Health & Safety Training Courses | ProTrainings Europe.
]]>
Key Features:
- Superior Protection: With an industry-leading IP66 rating, the DefibSafe 3 offers exceptional protection against dust, water, and other environmental factors, making it suitable for both indoor and outdoor installations.
- Durable Construction: Constructed from impact-resistant polycarbonate, the cabinet is designed to withstand harsh weather conditions and resist corrosion. Its watertight seal and UV-resistant coating further protect the AED from environmental damage.
- Temperature Regulation: The cabinet features a temperature control system that maintains the AED at its optimal operating temperature. The heating function activates when internal temperatures drop below 5°C, and cooling mechanisms engage when temperatures exceed 30°C, ensuring the device is always ready for use.
- Visibility and Accessibility: Equipped with both interior and exterior lighting, the DefibSafe 3 ensures high visibility, even in low-light conditions. The cabinet’s design allows for easy switching between locked and unlocked modes, providing flexibility in access control based on specific requirements.
- Real-Time Monitoring: A dynamic LED screen displays real-time information, including ambient temperature, humidity levels, and the cabinet’s lock status. Additionally, the cabinet provides condition feedback through colored lighting—glowing green indicates readiness, while red signifies that the cabinet is open and the AED is in use.
Benefits:
- Enhanced Device Longevity: By protecting the AED from environmental hazards and maintaining appropriate storage conditions, the DefibSafe 3 helps extend the lifespan of the device, ensuring it remains functional when needed most.
- Improved Emergency Readiness: The cabinet’s design ensures that the AED is easily locatable and accessible during emergencies, with features like high visibility lighting and straightforward access mechanisms facilitating prompt response.
- Security and Compliance: The option to lock the cabinet provides security against unauthorized access or tampering, while still allowing rapid deployment in critical situations. This balance supports compliance with safety regulations and organisational protocols.
- User-Friendly Monitoring: The real-time feedback and monitoring features allow for easy maintenance checks, ensuring that any issues with the AED or cabinet are promptly identified and addressed.
- Bespoke Backing sign design: The backing sign can be personalised to your requirements.
In summary, the DefibSafe 3 AED cabinet combines durability, advanced protection features, and user-friendly design to ensure that AEDs are securely stored, easily accessible, and maintained in optimal condition, thereby enhancing emergency preparedness and response effectiveness.
Get yours today:
The post The DefibSafe 3 AED cabinet appeared first on Online Health & Safety Training Courses | ProTrainings Europe.
]]>The post Head Injuries: Recognising and Responding to Head Trauma appeared first on Online Health & Safety Training Courses | ProTrainings Europe.
]]>What is a Head Injury?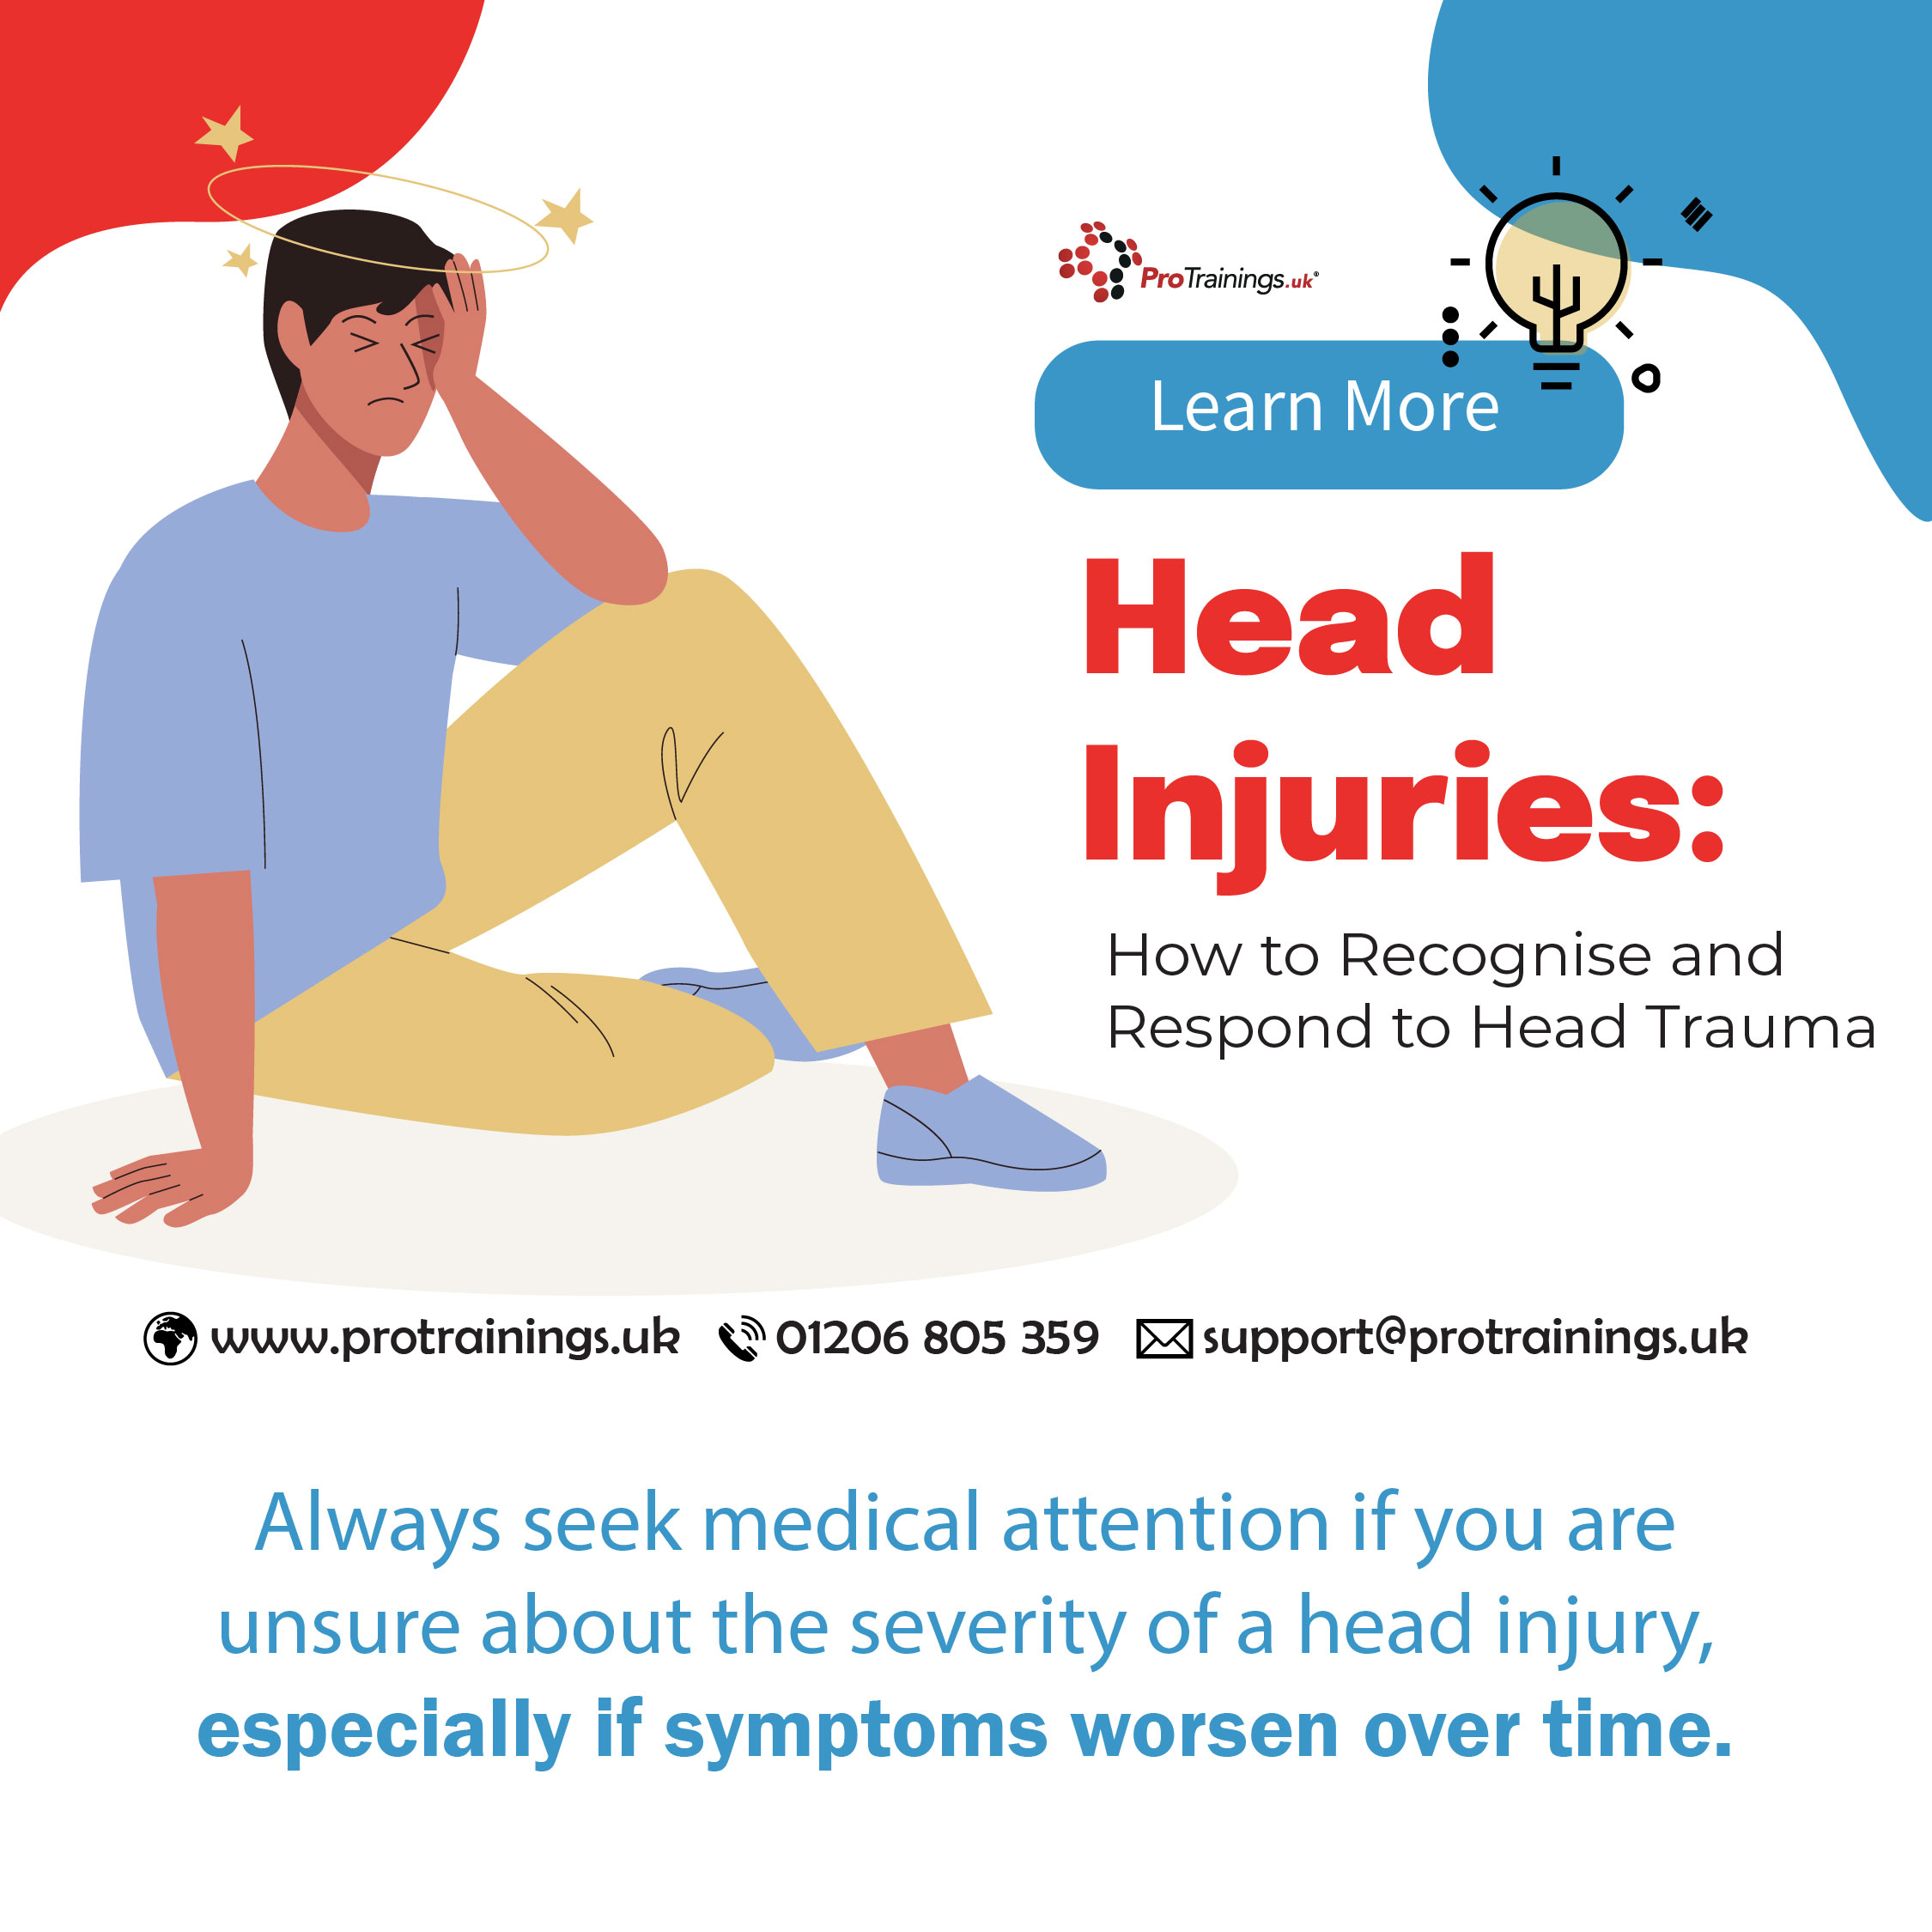
A head injury refers to any trauma to the scalp, skull, or brain. Head injuries can be classified into two main types:
- Closed Head Injury: The skull is not broken, but the brain may still be injured from a blow to the head, causing concussion or internal bleeding.
- Open Head Injury: The skull is fractured or penetrated, with the risk of damage to the brain and surrounding tissues.
Causes of Head Injuries
Head injuries can be caused by various incidents, including:
- Falls: Slipping, tripping, or falling from a height can result in head trauma.
- Car or Bicycle Accidents: Collisions can lead to head injuries, even if the person is wearing a helmet.
- Blows to the Head: Sports injuries, fights, or accidental strikes can cause head injuries.
- Physical Assault: Being hit or struck with an object can cause head trauma.
- Sports Injuries: Contact sports, such as rugby, football, or boxing, can lead to concussions or other head injuries.
Types of Head Injuries
- Concussion: A mild traumatic brain injury caused by a blow or jolt to the head. It can lead to temporary loss of brain function, such as confusion, memory loss, or dizziness.
- Skull Fracture: A break in one or more of the bones in the skull, which can cause damage to the brain or blood vessels.
- Scalp Wound: A cut or laceration to the scalp that may bleed profusely but does not always indicate a severe injury.
- Intracranial Haemorrhage: Bleeding inside the skull, which can put pressure on the brain and is a medical emergency.
Signs and Symptoms of Head Injuries
The symptoms of a head injury vary depending on the severity. Some symptoms may appear immediately, while others can develop over time.
Mild Head Injury (Concussion):
- Dizziness or light-headedness
- Confusion or difficulty concentrating
- Headache
- Nausea or vomiting
- Temporary memory loss (amnesia)
- Sensitivity to light or noise
- Blurred vision or seeing “stars”
- Brief loss of consciousness (in some cases)
Moderate to Severe Head Injury:
- Prolonged loss of consciousness
- Seizures or convulsions
- Clear fluid or blood draining from the nose or ears
- Unequal pupil size or unresponsive pupils
- Slurred speech or difficulty speaking
- Weakness, numbness, or difficulty moving limbs
- Severe headache that doesn’t improve
- Drowsiness or difficulty staying awake
- Confusion, irritability, or unusual behaviour
- Vomiting (especially repeated)
First Aid for Head Injuries
If someone has suffered a head injury, it is important to act quickly to assess the severity and provide appropriate care.
- Assess the Person’s Consciousness:
- If the person is unconscious, check for breathing and pulse. If they are not breathing, begin CPR immediately and call 999 for emergency help.
- If the person is conscious, keep them calm and still. Monitor them closely for changes in their condition.
- Call 999 for Emergency Help:
- Always call 999 if the person has lost consciousness, even if only briefly, or if they are displaying any signs of a serious head injury, such as confusion, seizures, or vomiting.
- Describe the injury to the emergency operator, noting any changes in the person’s condition.
- Keep the Person Still and Comfortable:
- Encourage the person to remain still and avoid moving their head or neck, especially if a neck or spine injury is suspected. Support their head and neck in the position you found them if necessary.
- If the person is bleeding from the scalp, apply gentle pressure with a clean cloth to control the bleeding, but do not press hard if you suspect a skull fracture.
- Monitor for Signs of Deterioration:
- Keep a close eye on the person’s condition, watching for any signs of confusion, drowsiness, or worsening symptoms. If their condition worsens, be prepared to call 999 again and provide additional information.
- Treat Minor Head Injuries:
- For minor bumps or bruises, apply a cold compress (wrapped in a cloth) to the injured area to reduce swelling. Ice should not be applied directly to the skin.
- Over-the-counter pain relievers, such as paracetamol, may be given for a mild headache, but avoid ibuprofen or aspirin, as these can increase the risk of bleeding.
- Place in the Recovery Position if Necessary:
- If the person is unconscious but breathing, place them in the recovery position to keep the airway clear and prevent choking in case of vomiting. Keep monitoring their breathing and pulse while waiting for emergency help.
Signs of a Concussion
Concussions are a type of mild brain injury, but they can still have serious effects. Look for the following symptoms if you suspect a concussion:
- Dazed or confused appearance
- Difficulty remembering events before or after the injury
- Feeling “foggy” or slow
- Clumsy movements
- Headache or pressure in the head
- Nausea, vomiting, or dizziness
Even if the person appears to recover, they should be seen by a doctor to assess for possible concussion and given instructions for care, including rest and monitoring for delayed symptoms.
When to Seek Medical Help
Always seek immediate medical attention if the person:
- Loses consciousness, even briefly.
- Has a severe headache that does not improve.
- Experiences confusion, drowsiness, or difficulty staying awake.
- Has clear fluid or blood coming from the nose, ears, or mouth.
- Has seizures or convulsions.
- Shows signs of weakness, numbness, or difficulty with coordination.
- Has a suspected skull fracture or spinal injury.
Prevention of Head Injuries
- Wear Helmets: Use helmets for activities such as cycling, skateboarding, skiing, or playing contact sports to protect against head injuries.
- Use Seatbelts: Always wear a seatbelt when driving or riding in a car, and ensure children are in appropriate car seats.
- Prevent Falls: Keep floors clear of obstacles, use handrails on stairs, and install safety gates for young children to prevent falls.
- Supervise Children: Ensure children are properly supervised when playing on playgrounds or engaging in activities with a risk of head injury.
Key Points to Remember
- Call 999 if the person loses consciousness or shows signs of a serious head injury, such as seizures, vomiting, or confusion.
- Keep the person still and monitor their condition closely for changes.
- Apply a cold compress for minor injuries, but avoid using ice directly on the skin.
- Always seek medical attention if the person has suffered a head injury, even if symptoms seem mild, as delayed complications can occur.
The post Head Injuries: Recognising and Responding to Head Trauma appeared first on Online Health & Safety Training Courses | ProTrainings Europe.
]]>